How To...
Here are some typical scenarios about how to use CPF system (upgrade version).
Install CPF client and start to work (for "Credentialing User")
Install CPF client thru ClickOnce. In publish page (e.g. https://cpfpublish.azurewebsites.net/Shell/"), click "Install" button to download and run the "setup.msi" file. After the installation done, an application icon "CPF" will be on the desktop. Click it to start the application. (see Installation Guide )
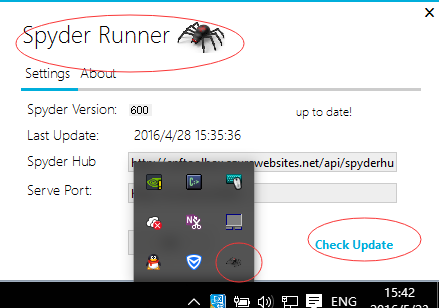
Spyder Runner is a separated tool that help CPF user run Spyder from CPF. See Installation Guide to learn how to install it on Windows.
At first time to click "CPF" icon on desktop to start work, a "Setup" window will prompt to ask the basic settings for running CPF client. Most of the default settings are just okay, and they are free to be modified to adapt the real work environment, like SMTP settings, database server, report service settings, and so on. Most of the settings can be "tested" on site. And these settings could be updated in the menu "Edit->Options" too. (See Settings Wizard)
The upgrade version use Windows Integration as the default authentication mode. Which means PR user no longer need to remember the specific user name and password, CPF could recognize the domain user info, just click login to enter CPF. (See Settings Wizard)
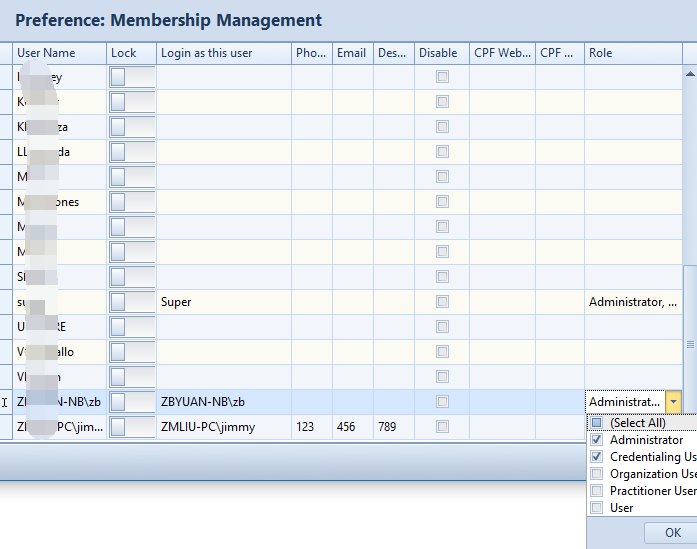
Enable a Credentialing User (for "Credentialing Administrator")
A new user can do nothing but enter the CPF client before authorized by "Credentialing Administrator".
"Credentialing Administrator" is pre-defined in CPF system. Who has ability to assign role to other users. Once a new user has "Credentialing User" role assigned, he/she will be authorized to do credentialing jobs.
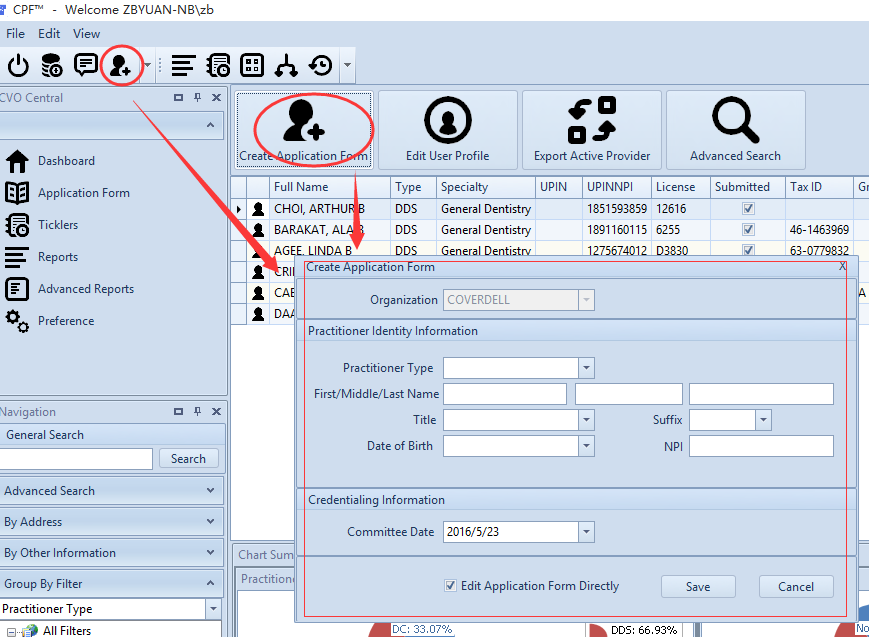
Create an Application Form (for "Credentialing User")
- Click "Create Application Form" button, edit and save, if the "Edit Application Form Directly" option is checked, Credentialing User could input more details in the opened forms.
Application Form Entry
For the application form editor, the major use habit inherits from the previous version, but the use experience and some important parts were improved indeed. For example:
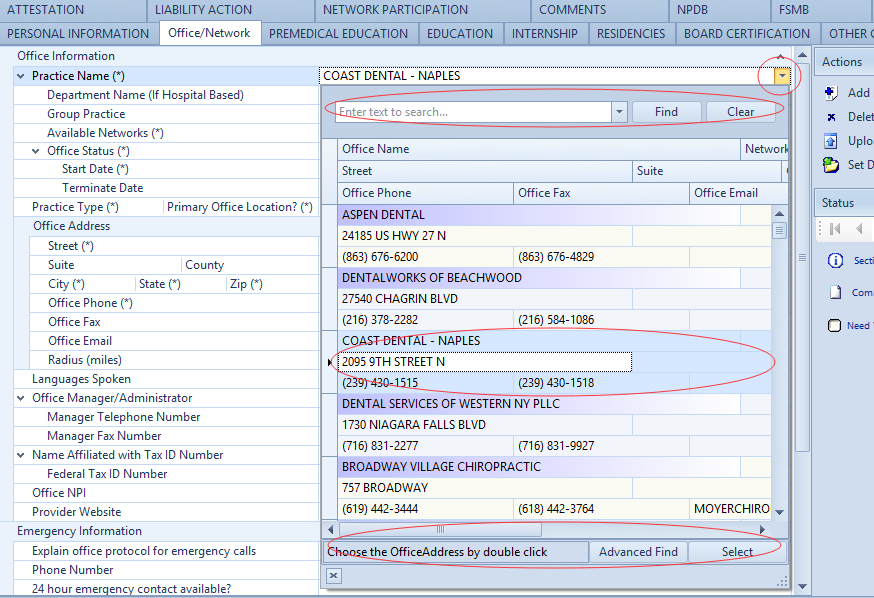
A better office selector
A better group practice selector with both "Auto-Complete" and "Lookup" styles.


Better other complex data selector, async, searchable, selectable, editable(by admin)
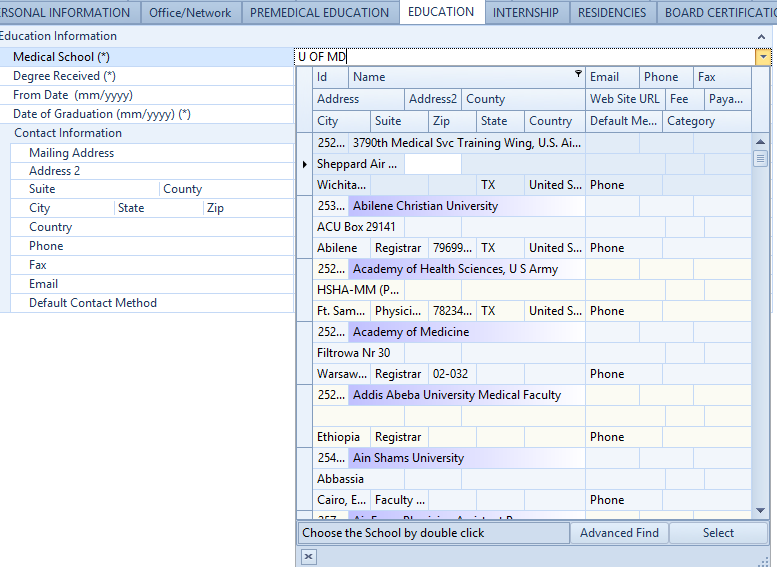
Credentialing Administrator could edit complex data by self
- And a couple of other better stuff
Send Notificaiton
- Both printer and SMTP can be setup per computer in menu "View->Options" now.
- "Acceptance notification use the group practice address first.
- Sending notification ability is not limited on one workstation.
Use Spyder Runner
- Spyder Runner should be ready before run Spyder in CPF. A running Spyder Runner stays at system tray like this:
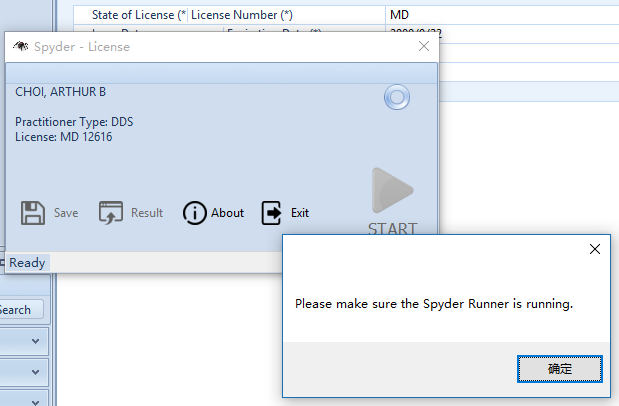
- For a submitted license record, in Request panel, click "Spyder" action, a Spyder window will popup. If the Spyder Runner is not ready, CPF will let user know.
- If everything is okay, click "Start" button, the Spyder Runner will run automatically, just watch and wait the result.
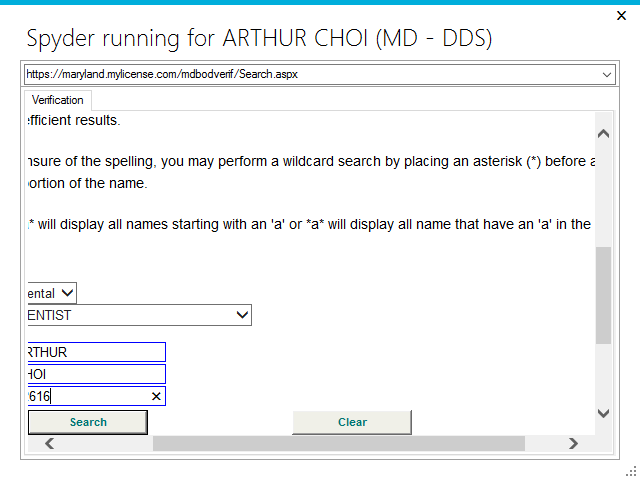

- Then accept values from the retrieved web page, exit or save the web page as part of credentialing result.
Quick start from the dashboard
See dashboard
Clean providers marked with "DELETE"
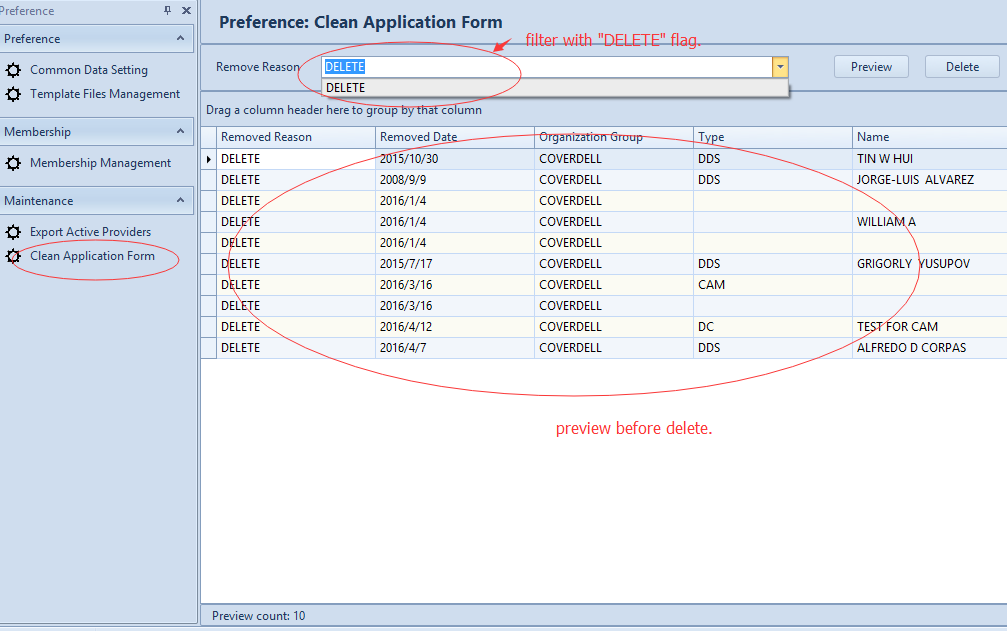
Credentialing Adminsitrator has ability to clean the providers marked with "DELETE" (or other flags) by self. In "Preference->Clean Application Form", list all providers marked with filter (default is "DELETE") by clicking "Preview" button. Click "Delete" button to clean them. Be careful, the deleted providers cannot be recovered.
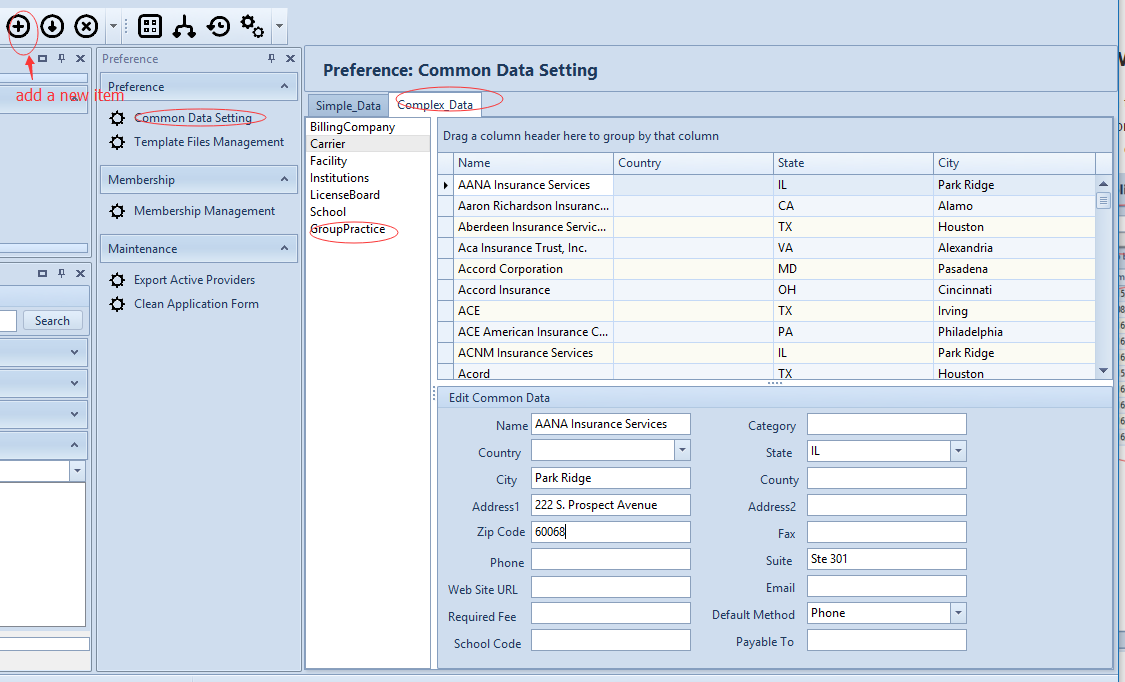
Add or Edit Common Data (e.g. Group Practice)
Credentialing Adminsitrator has ability to manage the common data now. For example, to edit a group practice item, in "Preference->Common Data Setting", select "Complex_Data" tab, select "GroupPractice", edit (or add a new item) here. The change to common data will effect all the CPF system, so be careful.
Export Active Providers
This feature is re-designed with filter, preview and better performance, in "Preference->Export Active Providers".
